Easter Egg Coloring Tips to “Dye” For!

Spring is in the air, and one of the most eggs-citing holidays of the year is just around the corner – Easter!
Why do we love this holiday and season so very much? Well, it’s a cel-egg-bration of our reason for being here at Noah’s Pride – EGGS!
There are candy eggs in Easter baskets and plastic eggs to hunt for, of course, but one of the best Easter traditions is coloring, painting, or dyeing real, hen-laid eggs with family and friends.
Today’s post is all about our favorite egg decorating tips to help you get creative. Whether you like crazy patterns and bright colors or more understated pastel tones, we’ve got ideas you’ll love!
Do Cold or Warm Eggs Dye Better?
An age-old egg coloring question surrounds how you should get started—with hard-boiled eggs that have been allowed to cool, or with eggs still warm from boiling. There are egg artists that swear by both preparation methods, but it really comes down to the type of dye you’re using (and also science).
If you’re going to be dunking eggs in a dye solution (as with traditional kits you buy at the store), it’s likely that your dye will be warm—at first, anyway—so it may not entirely matter whether your egg has been allowed to cool. In fact, it’s more about whether you’ve added an edible household acid like vinegar to your dye to assure that it adheres properly to your egg’s shell.
If you are painting your eggs, however, either with food coloring or with a more Lancaster County-native and unique product like Doc Hinkle’s Paint-On Dye, starting with warm eggs may be the better way to go.
Fun fact: it’s possible that egg dyeing was “invented” in our own backyard here in Pennsylvania Dutch Country. At least, our ancestors were some of the first people in America to celebrate Easter when they arrived here from Europe (specifically the southern German regions) in the early 1700s. They brought many of their holiday traditions with them (including the idea of the Easter bunny), and the rest is history!
Should You Always Hard-Boil?
While many people choose to hard-boil eggs before they begin decorating, an alternative method is to work with hollowed-out, uncooked eggs. The benefit here is that you don’t need to fire up the stove before you begin your artistic process, and you will also end up with egg whites for making delicious meringue recipes, as well as leftover egg yolks to cook and bake with, too! Hollowing eggs is a little messy, but it also allows your artwork to be preserved for many years since you’ve removed the perishable/food part of the egg.
To create hollowed-out eggs, you will need special tools to eggs-tract the whites and yolks from inside the shells without cracking them. This instructional article about creating dyed egg hanging ornaments explains more about the technique.
A Trick for Vibrant Egg Dying
As we touched on earlier, making your color “stick” to your eggs involves some science. Vinegar is very acidic and works with your dye to make it less likely to smear or rub off once your egg masterpiece is finished. To also make colors brighter, you can rub your eggs with straight vinegar before you begin painting or dip dyeing.
Pro tip: if you want more muted colors, start with brown eggs like Noah’s Pride! White eggs like those offered by our Kreider Farms family will allow you to create the most vibrant colors.
Tips to Create Special Effects
These days, you can buy a wide range of kits to create lots of different artsy effects on your Easter eggs, but there are do-it-yourself ways to create interesting patterns and designs, too. These are some of our favorites.
Marbled Easter Eggs

Creating marbled eggs involves some additional kitchen science, as you introduce vegetable or olive oil along with your vinegar to influence how the dye adheres to your eggs. This is a two-step coloring method and calls for creating a “base coat” dye bath with just vinegar, water, and your coloring, as well as an “effect” dye bath that adds the oil to create the marbled look over the top. This tutorial outlines the entire process. You can use either hard-boiled eggs or hollowed eggs with this technique.
Tie-Dyed Easter Eggs
Wrapping your eggs in a network of overlapping rubber bands before dip dyeing will produce interesting patterns on the shells. Just beware that this coloring process does not work well with fragile hollowed-out eggs, as the tension from the rubber bands can shatter them! You can even combine this technique with the marbling technique above for some truly wild designs!
Striped or Polka Dot Easter Eggs
Combine dip dyeing with painting onto shells, or simply paint directly on the naturally white or brown egg surface to create fun dots or striped patterns. Freehand painting with a brush or cotton swab works best, but if you’re more of a perfectionist, you can also create stencils using various types of tape, or sketch on your egg with a regular No. 2 pencil before you begin painting!
Metallic Easter Eggs

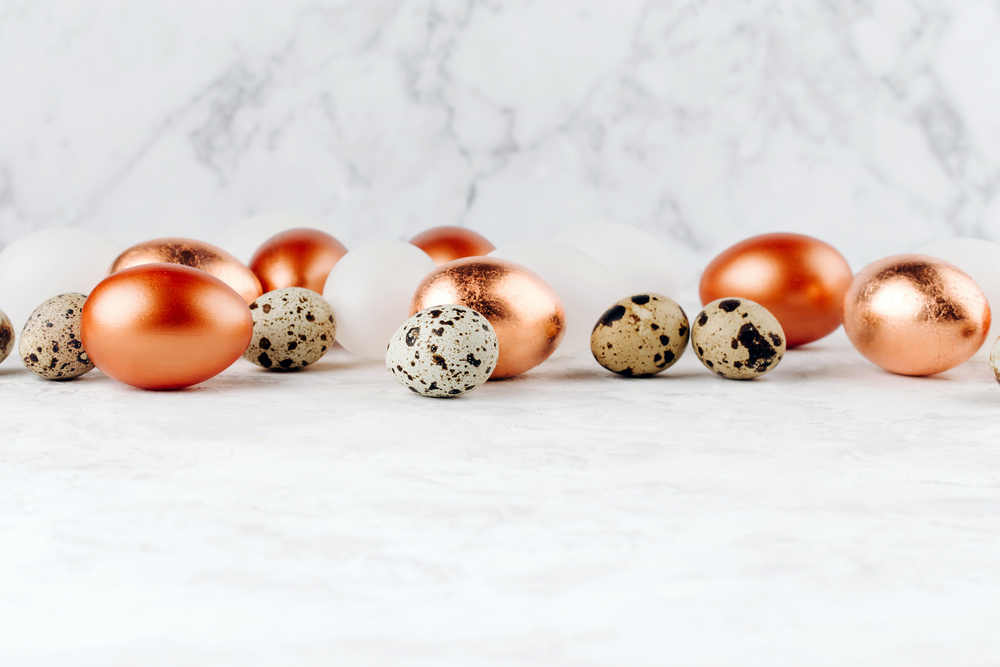
Rub-on gold, bronze, or silver leaf available at your local craft store or big box retailer is one tool you can use to easily give your Easter eggs a super shiny look. Or, you can also try metallic spray paint and then draw designs on the eggs with colored paint markers. One word of caution: these eggs will NOT be edible once you’ve decorated them with these types of finishes. For best results, use hollowed-out eggs instead of hard-boiled eggs for this decorating technique!

Don’t want to get messy? Try stickers on your eggs!
Here at Noah’s Pride, we love to dress up our eggs with fun accessories for photo shoots! Stickers and scrapbooking supplies make fantastic Easter egg decorations that don’t require you to get out messy paints and dyes. You can even purchase adhesive rhinestones to create totally cool “bling-y” eggs!
Show us your festive Easter eggs!
We’d love to see your beautiful painted eggs on our Noah’s Pride Instagram and Facebook pages!
At Noah’s Pride, we care about our hens, and we care about your food! Pick up our eggs-tra special eggs on your next shopping trip… and save with this special offer!


